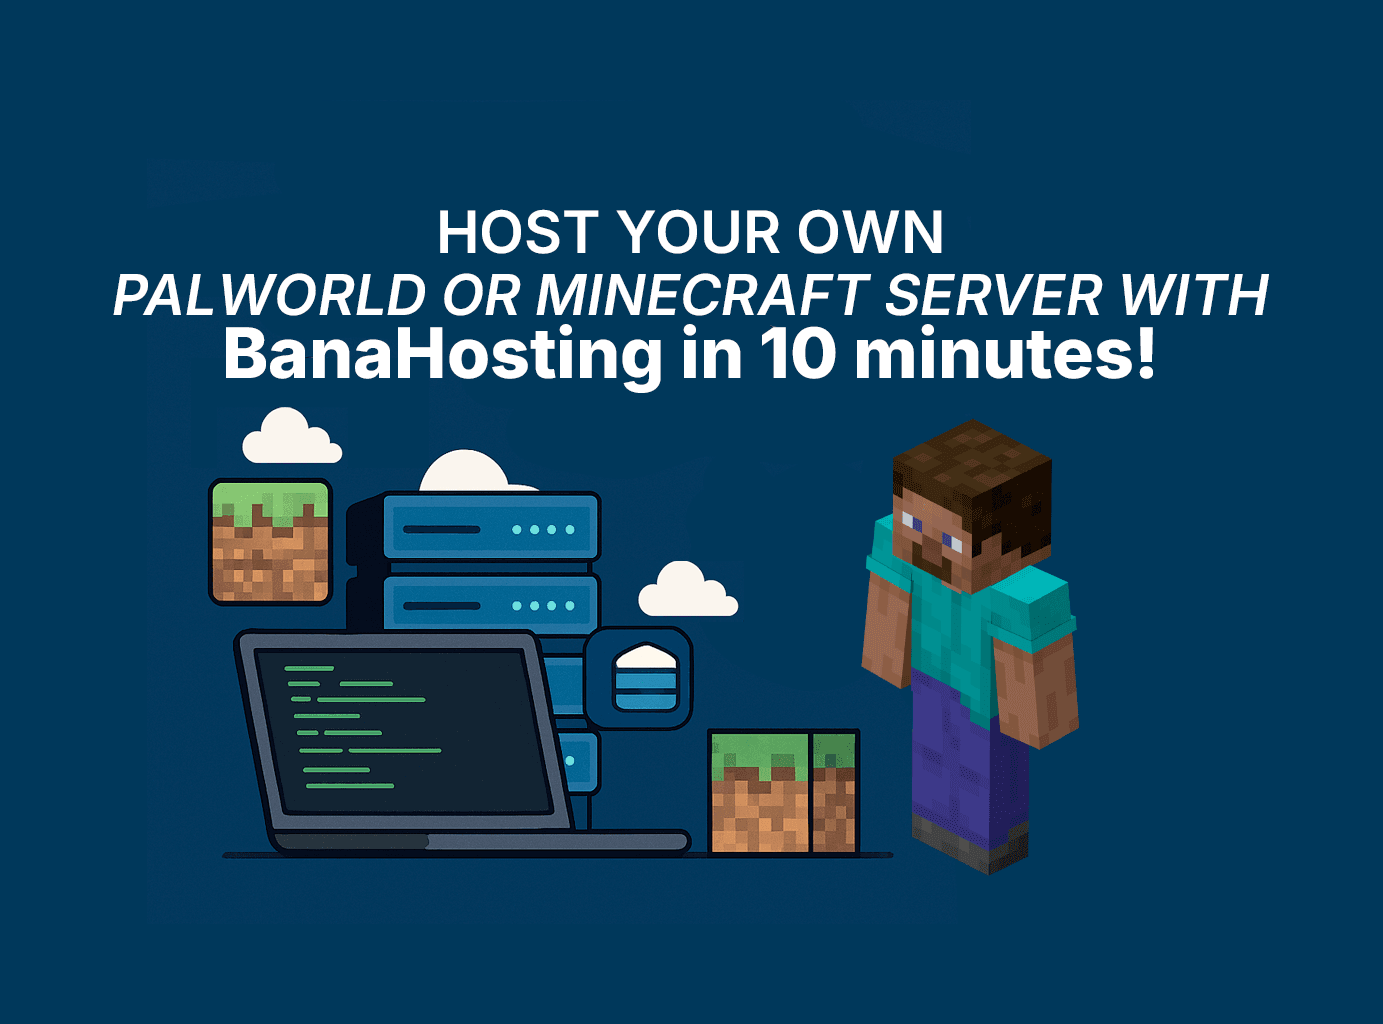
Host Your Own High-Performance Palworld or Minecraft Server with BanaHosting: A Beginner's Guide
Are you tired of playing Palworld or Minecraft on public servers plagued by lag, strict rules, or unreliable uptime? Do you dream of creating your own dedicated world where you control every aspect, invite your friends, and experience buttery-smooth gameplay, no matter how many Pals you capture or blocks you place?
The good news is that hosting your own high-performance game server is more accessible than ever. While traditional server setup can seem daunting, choosing the right infrastructure provider makes all the difference. This is where BanaHosting's Cloud VPS steps in, offering raw power, complete control, and incredible value for gamers.
This comprehensive guide will walk you through the entire process of setting up a high-performance Palworld or Minecraft server using a clean, unmanaged BanaHosting VPS. We'll show you how to provision your server, install the game software, and configure your firewall step-by-step, allowing you to focus on epic gaming adventures with your friends.
Why BanaHosting Cloud VPS is Your Best Bet for Gaming
Before we dive into the "how," let's understand "why" BanaHosting stands out as an exceptional choice for hosting demanding game servers.
1. Raw, Unbloated Performance
Unlike managed web hosting platforms that force pre-installed software (like Apache, MySQL, or PHP) down your throat—consuming valuable RAM—BanaHosting gives you a clean, bare-metal-like Linux installation. This means 100% of your server's RAM and CPU is dedicated solely to running your game server smoothly.
2. High-Speed Infrastructure
KVM Virtualization: BanaHosting uses KVM, meaning your resources are completely isolated and dedicated to you. You aren't fighting with other users on the same machine for CPU cycles.
NVMe SSDs: Lightning-fast NVMe storage drastically reduces load times for game worlds and assets, translating to quicker server startups and zero chunk-loading lag in Minecraft.
3. Cost-Effective Power Stop Overpaying!
Because you are buying an "unmanaged" VPS, you aren't paying the hefty $30-$50 premium of managed cloud panels. You get significantly more RAM and CPU cores for your dollar, which is absolutely critical for memory-hungry games like Palworld. You can get a robust gaming rig in the cloud starting at just $10 to $20 a month, which is a fraction of what specialized "Game Hosts" charge for the same hardware.
4. Excellent Network & Uptime
BanaHosting is renowned for its stellar network stability and routing, ensuring low ping and a lag-free experience for your community.
Step 1: Purchasing Your BanaHosting VPS
Let's get the actual server hardware!
Go to the BanaHosting and navigate to their Cloud VPS / KVM VPS section.
Select Your Server Size: This determines your RAM, CPU cores, and storage. Game servers are demanding, so do not skimp here:
For Palworld (Heavily Demanding): Palworld has high memory requirements. Do not use less than 8GB of RAM. We recommend a plan with at least 8GB RAM / 4 vCPU (approx. $19.95/month) for 1-6 players. For larger communities, opt for the 16GB RAM tier (approx. $39.95/month).
For Minecraft (Vanilla/PaperMC): A plan with 4GB RAM / 2 vCPU (approx. $9.95/month) is perfect for 1-8 players. For heavy modpacks or 15+ players, upgrade to the 8GB RAM tier (approx. $19.95/month).
Select Your Operating System: Choose Ubuntu 22.04 LTS. It's the most reliable and widely supported operating system for game servers.
Location: Choose the data center geographically closest to you and your friends for the lowest ping.
Complete the checkout process.
Step 2: Accessing Your Server
Within a few minutes of purchasing, BanaHosting will email you your new server's details. You will need three things from that email:
Your Server's IP Address (e.g.,
198.51.100.24)Username:
rootYour Root Password
How to connect to your server:
Windows Users: Download a free program called PuTTY. Open it, enter your IP Address in the "Host Name" box (leave Port as 22), and click Open. A black terminal window will appear. Type
rootand press Enter, then type your password (the characters won't show up on screen for security, just type it and press Enter).macOS/Linux Users: Open your built-in Terminal app and type:
ssh root@YOUR_IP_ADDRESS. Press Enter, and type your password when prompted.
Step 3: Server Preparation & Firewall
Once logged in, you will see a command prompt. First, let's update your server to make sure it has the latest security patches. Copy and paste this command, then press Enter:
Bash
apt update && apt upgrade -yNow, we need to open the "doors" (ports) in your server's firewall so your friends can actually connect to the game.
If you are hosting Palworld (Requires UDP Port 8211), run these three commands:
Bash
ufw allow 8211/udp

ufw allow ssh

ufw enable
If you are hosting Minecraft (Requires TCP Port 25565), run these three commands:
Bash
ufw allow 25565/tcp

ufw allow ssh

ufw enable
(If the screen asks to confirm and warns you about disrupting SSH connections, just press 'y' and Enter).
Step 4: Installing Your Game Server
Choose the game you want to host below and follow the steps carefully.
Option A: Installing Palworld
1. Install Required Software (Dependencies) First, we need to install the tools that allow Palworld to run, including SteamCMD (a command-line version of Steam). Run this block of commands:
Bash
add-apt-repository multiverse

dpkg --add-architecture i386

apt update

apt install libstdc++6 libgcc_s1 libc6 libm-arm-vm-base libsdl2-2.0-0 curl wget file screen steamcmd -y
(Note: A colorful screen might pop up asking you to accept the Steam license agreement. Use your keyboard arrows to select "OK" or "I Agree" and press Enter).
2. Create a Dedicated User (For Security) Running a game server on the main "root" account is risky. Let's create a safe, dedicated user just for Palworld.
Bash
adduser palworlduser(It will ask you to create a password for this new user. Type a password, press Enter, and just press Enter through the rest of the profile questions like Name, Phone, etc.).
Now, switch into this new user account:
Bash
su - palworlduser3. Download the Palworld Server Files Let's create a folder for the game and use Steam to download the server files directly to your VPS.
Bash
mkdir palworld

cd palworld

/usr/games/steamcmd +login anonymous +app_update 2394010 validate +quit
(This step might take a few minutes as it downloads gigabytes of game data. Wait until you see "Success! App '2394010' fully installed").
4. Launch the Palworld Server We will use a tool called screen. This creates a virtual window that keeps the server running 24/7, even after you close your terminal window and turn off your computer.
Bash
cd ~/palworld/steamapps/common/PalServer/

screen -S palworld ./PalServer.sh
Important: You will see a lot of text scrolling by. The server is generating the world. Wait about 2 to 3 minutes for it to fully boot up.
To safely leave the server running in the background: Press and hold the CTRL key, tap A, and then tap D. You will be returned to your normal command line, but the game is still running!
(If you ever need to see the game console again, type screen -r palworld).
Option B: Installing Minecraft (Vanilla)
1. Install Java Minecraft runs on Java. Let's install it, along with the screen tool.
Bash
apt install openjdk-17-jre-headless screen wget -y2. Create a Dedicated User Running a game server on the main "root" account is a security risk. Let's create a safe user.
Bash
adduser mcuser

su - mcuser
(Press Enter through the name/phone questions).
3. Download the Minecraft Server Let's create a folder and download the game files. (Note: Always check the official Minecraft website for the latest server.jar link, but this command will download the file).
Bash
mkdir minecraft_server

cd minecraft_server

wget -O server.jar https://piston-data.mojang.com/v1/objects/450698d1863ab5180c25d7c804ef0fe6369dd1ba/server.jar
4. Accept the EULA (End User License Agreement) Minecraft requires you to agree to their terms before the server will start.
Bash
echo "eula=true" > eula.txt5. Launch the Server (Crucial RAM Optimization) You must leave some RAM for the Linux operating system. Do notassign 100% of your VPS RAM to Java, or the server will crash instantly. Assign around 70% to 80% of your total RAM.
If you bought a 4GB VPS (the $9.95 plan), we will assign 3000 Megabytes (3000M) to the game using this command:
Bash
screen -S minecraft java -Xmx3000M -Xms3000M -jar server.jar nogui(If you bought an 8GB VPS, change 3000M to 6000M).
The server will now generate the world. Once it says "Done!", your server is live.
To safely leave the server running in the background: Press and hold the CTRL key, tap A, and then tap D.
Step 5: How to Join Your New Server
Your server is now live in the cloud! Here is exactly how you and your friends can connect.
Joining Palworld:
Open Palworld on your computer.
From the main menu, click on Join Multiplayer Game.
Look at the very bottom of the screen. You will see a text box with a default IP address (usually
127.0.0.1:8211).Delete those numbers and type your BanaHosting VPS IP address, followed by
:8211.Example:
198.51.100.24:8211
Click the Connect button. (Troubleshooting Tip: If you get a "Connection Timed Out" error on your first try, your server is likely still generating the world for the first time. Wait two minutes and try again).
Joining Minecraft:
Open Minecraft and click on Multiplayer.
Click Add Server.
In the "Server Address" box, type your BanaHosting VPS IP address. You do not need to add any port numbers at the end.
Click Done, select your new server from the list, and click Join Server.
Final Thoughts
Hosting a high-performance Palworld or Minecraft server doesn't have to be an intimidating ordeal reserved for tech experts. By choosing an unmanaged Cloud VPS from BanaHosting, you bypass the restrictive limits of shared hosting and get the raw, dedicated power your games actually need at a fraction of the cost.
By following this guide, you now have all the tools and knowledge to manage your own dedicated game server. Take the leap, customize your world, and enjoy a truly high-performance gaming experience!